Creating pages
After bootstrapping both your frontend application (Nuxt or Next) and your Contentful space, you can start creating your dynamic CMS pages.
Before following this guide, make sure you've followed the guide on creating components. You're going to use the component created there.
Creating your first page
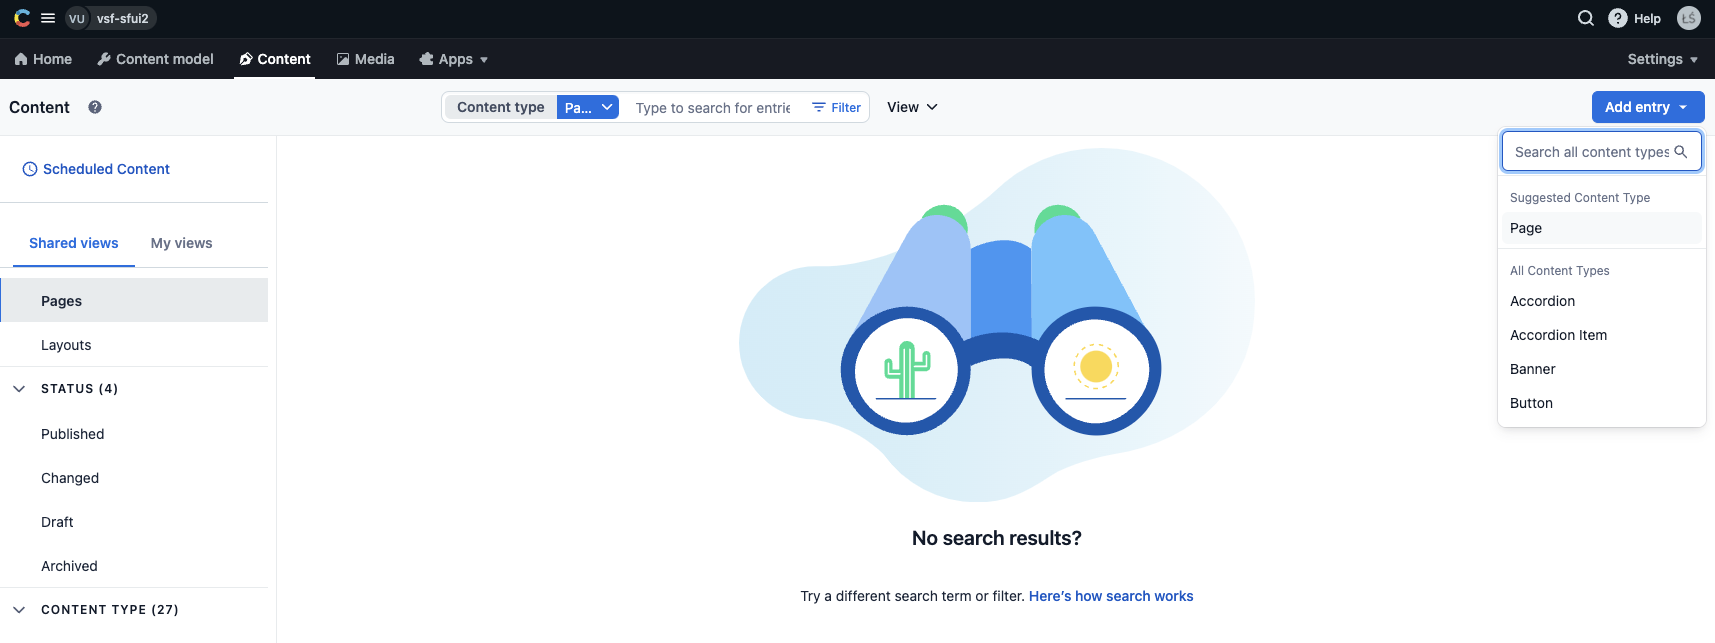
The journey starts in the Contentful Web App. Navigate to the Content tab and click the Add entry button in the top left corner. Choose Page from the list of suggested content types.
A new editor window should pop up. Give your page a unique URL. Your frontend application will use it to fetch the page from Contentful. For example, if you want to create a dynamic homepage, simply use /.
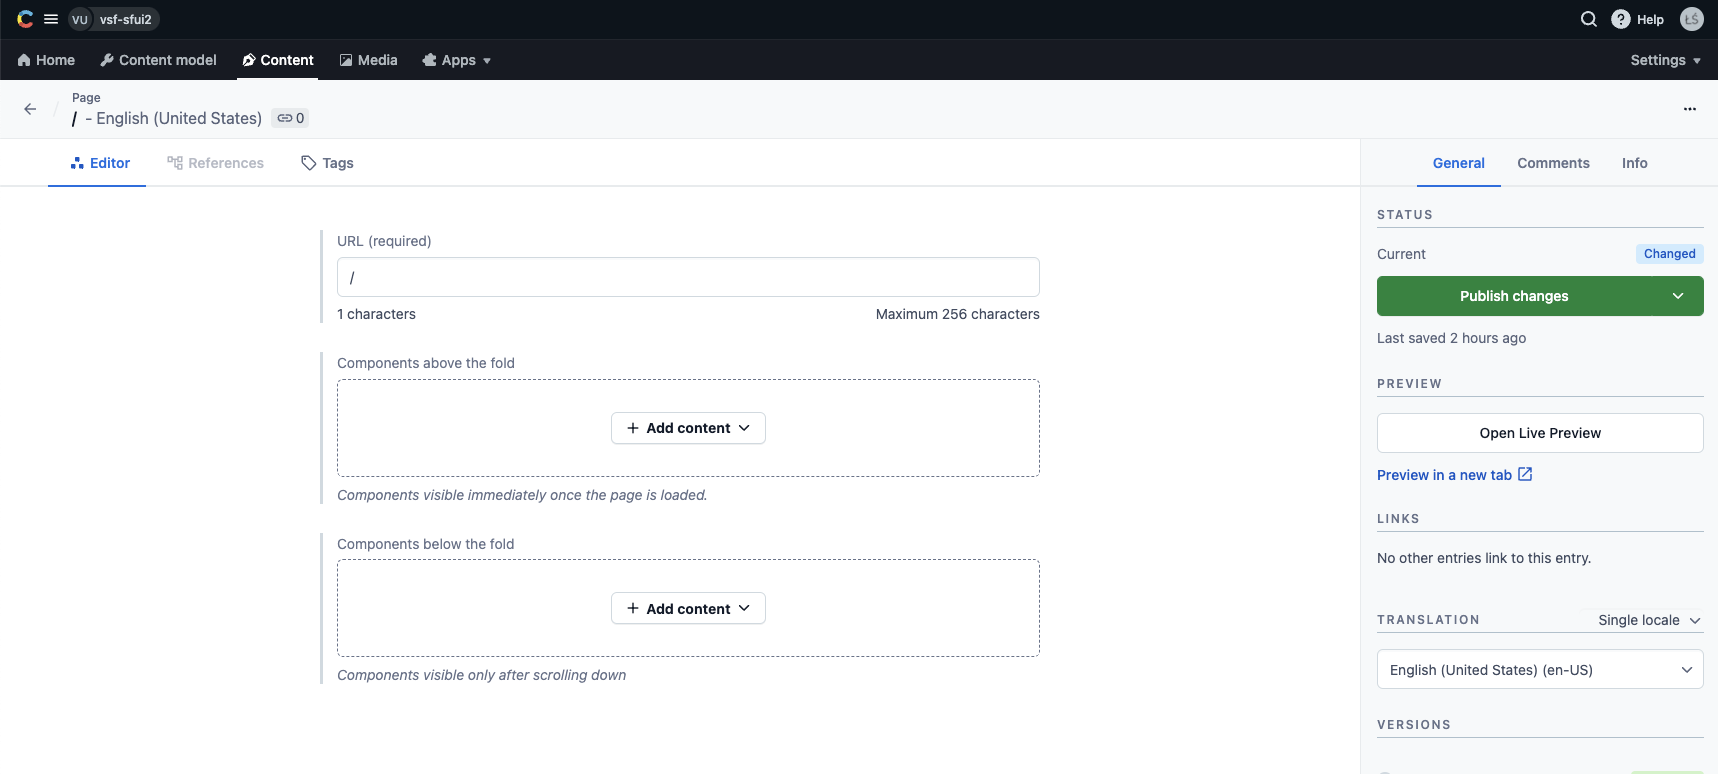
Next, in the Components above the fold field, click on the Add content button. From the displayed list of content types, choose Example. Another new editor window should pop up, allowing you to edit fields of your new Example entry.
Good to know
Components added in the Components above the fold field will be rendered immediately once the page is loaded. Component which should be loaded lazily upon scrolling down should be added in the Components below the fold field.
In the displayed form, add values for simple text fields (title, subtitle) as well the reference field (button). For now, you can skip the Styles field.
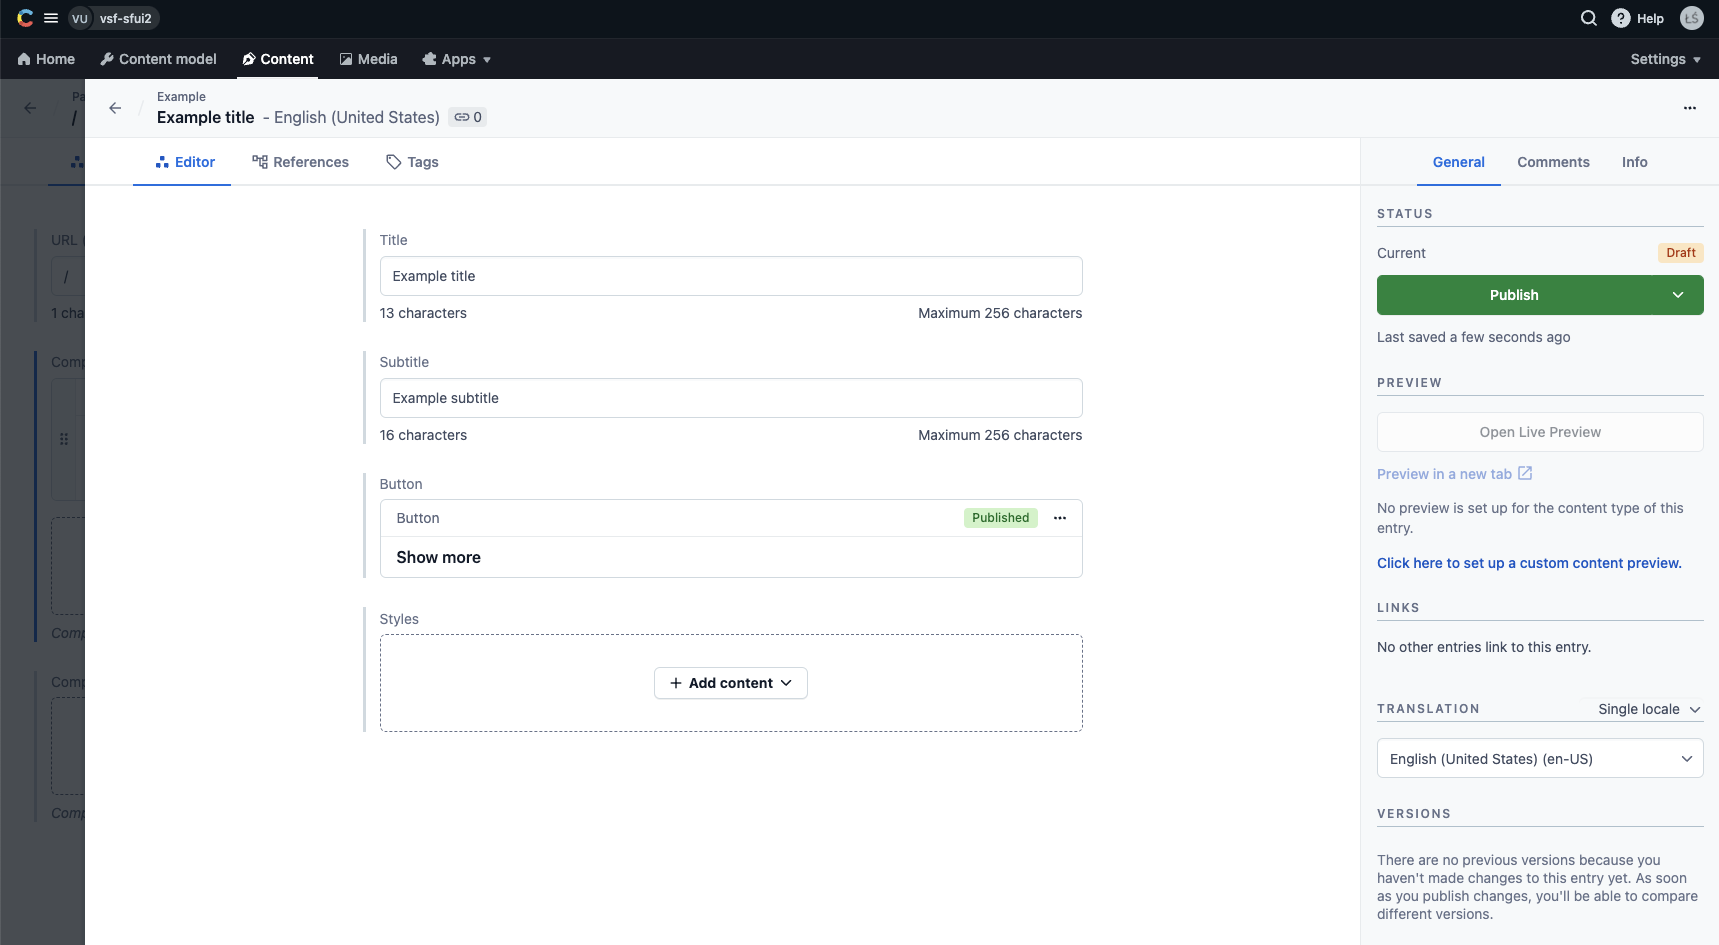
Once done, click the green Publish button in the sidebar on the right. Then navigate back to the Page entry form and click the green Publish button there as well.
Fetching your first page
Make sure you are fetching the newly-created page in your application. You can do it by calling the getEntries() SDK method with the right arguments:
import { sdk } from '~/sdk.config';

const url = '/';

const { items } = await sdk.contentful.getEntries({
  content_type: 'page',
  'fields.url': url,
  include: 3,
});
Ideally, the value of the url should be dynamic and different for every route in your application. In Nuxt 3, you can achieve that with the useRoute() composable:
const route = useRoute();
const url = route.path;
whereas in Next 13, you can use the resolvedUrl parameter of getServerSideProps:
export const getServerSideProps = async ({ resolvedUrl }) => {
  const url = resolvedUrl;
  // ...
}
If you had bootstrapped your frontend with one of our guides in the Getting started section, this code should already be present in one of your components: contentful.vue (in case of a Nuxt3 setup) or _app.tsx (in case of a Next 13 setup).
Assuming your frontend is running on http://localhost:3000, you should be able to see your new homepage featuring a single Example component with title, subtitle and button:
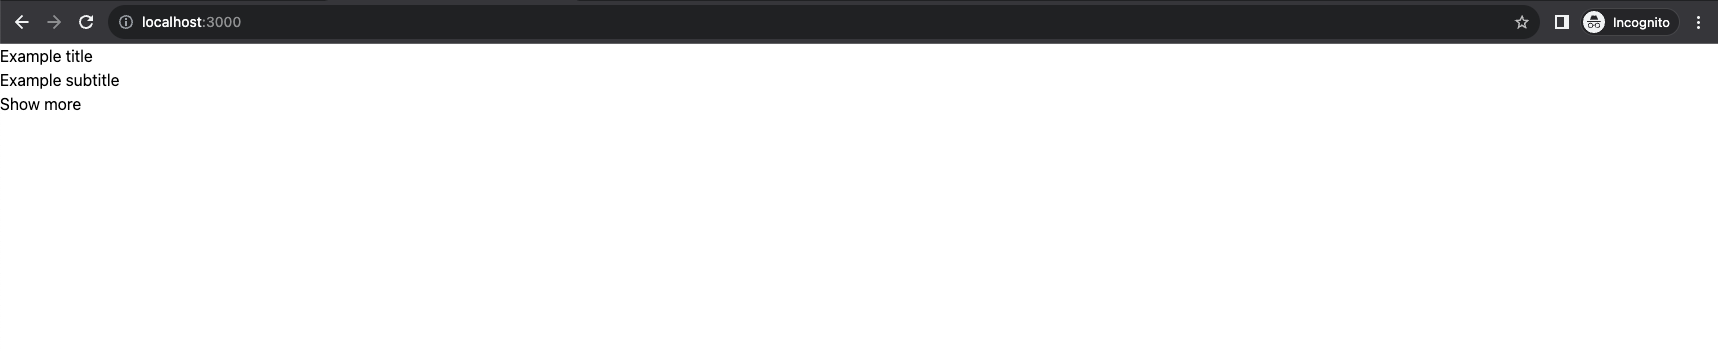
Congratulations - you've just created your first page featuring your own Example component!
Creating your second page
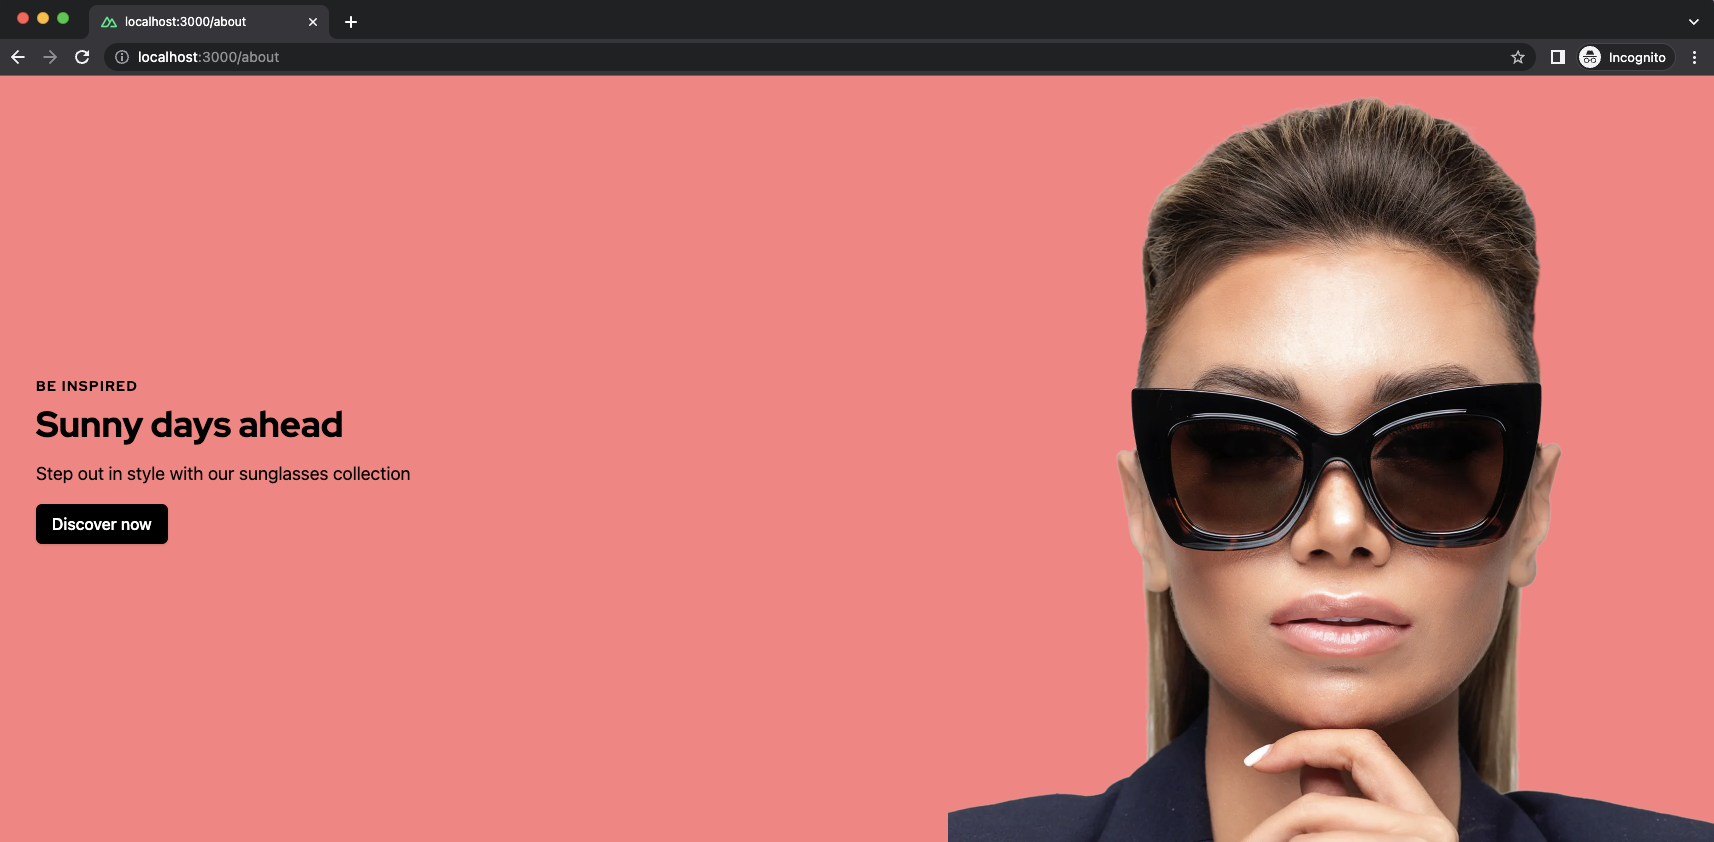
Your homepage is already there. But what will happen if we go to some arbitrary url in our frontend app (e.g. /about)? It will simply display a blank page since neither your Contentful environment nor your frontend application defines it.
Let's add it in Contentful. Once again, go to your Contentful Web App. Repeat the steps from the previous section with two differences:
- use
/aboutinstead of/as your page's unique URL, - in the Components above the fold field, add a Banner entry instead of an Example entry.
After you had published your new /about page in Contentful, it should also be visible on http://localhost:3000/about. No changes in the code are required - Alokai will pick it up automatically