Working with images
Vue Storefront provides you with the necessary tools to display and optimize your application images - both static and the ones coming from SAP Commerce Cloud itself.
Good to know
This guide assumes you have the following files in your project:
~/plugins/image-helpers.ts~/serverMiddleware/sap-image-proxy.ts
Displaying product images
Product image URLs in SAP Commerce Cloud consist of:
- a host (e.g.
api.c1jvi8hu9a-vsfspzooa2-d1-public.model-t.cc.commerce.ondemand.com) - the medias path parameter
- the context query parameter (unique for every image)
An example product image URL looks like this:
https://api.c1jvi8hu9a-vsfspzooa2-d1-public.model-t.cc.commerce.ondemand.com/medias/?context=xyz
Unfortunately, when we fetch product data from SAP Commerce Cloud, the image URLs we get are just paths without the host. Therefore, we need to prepend the paths with the host ourselves. For this very reason, Vue Storefront provides you with the getSapImageUrl() helper.
Before you use it, make sure you add the missing host to your publicRuntimeConfig in nuxt.config.js:
export default {
  // ...
  publicRuntimeConfig: {
    mediaHost: 'https://your-sap-api-host.com/'
  }
};
After that, you can get the helper from the useContext composable and use it inside scripts. Alternatively, you can use it directly within your templates.
<template>
  <SfProductCard :image="$getSapImageUrl('sap-image-path')" />
</template>

<script>
import { useContext } from '@nuxtjs/composition-api';

export default {
  setup() {
    const { $getSapImageUrl } = useContext();

    const fullProductImageUrl = $getSapImageUrl('sap-image-path');
  }
}
</script>
Optimizing images
You can use external image providers to optimize your images thanks to the @nuxt/image (opens new window) module. In this example, we will show you how to use it with Cloudinary (opens new window).
Initial configuration
First, you need to register and configure the @nuxt/image (opens new window) in the nuxt.config.js file.
nuxt.config.js
export default {
  // ...
  modules: [
    '@nuxt/image'
  ],
  image: {
    provider: 'cloudinary',
    cloudinary: {
      baseURL: 'https://res.cloudinary.com/<your-cloudinary-space-name>/image/upload/',
      uploadDir: 'sap'
    }
  }
};
baseURL
A Cloudinary-specific property holding your account's image upload API URL. It might be different for different providers.
uploadDir
A property specifying the Cloudinary directory for auto-uploading SAP Commerce Cloud product images. Not required by @nuxt/image, for internal use only.
Uploading assets manually
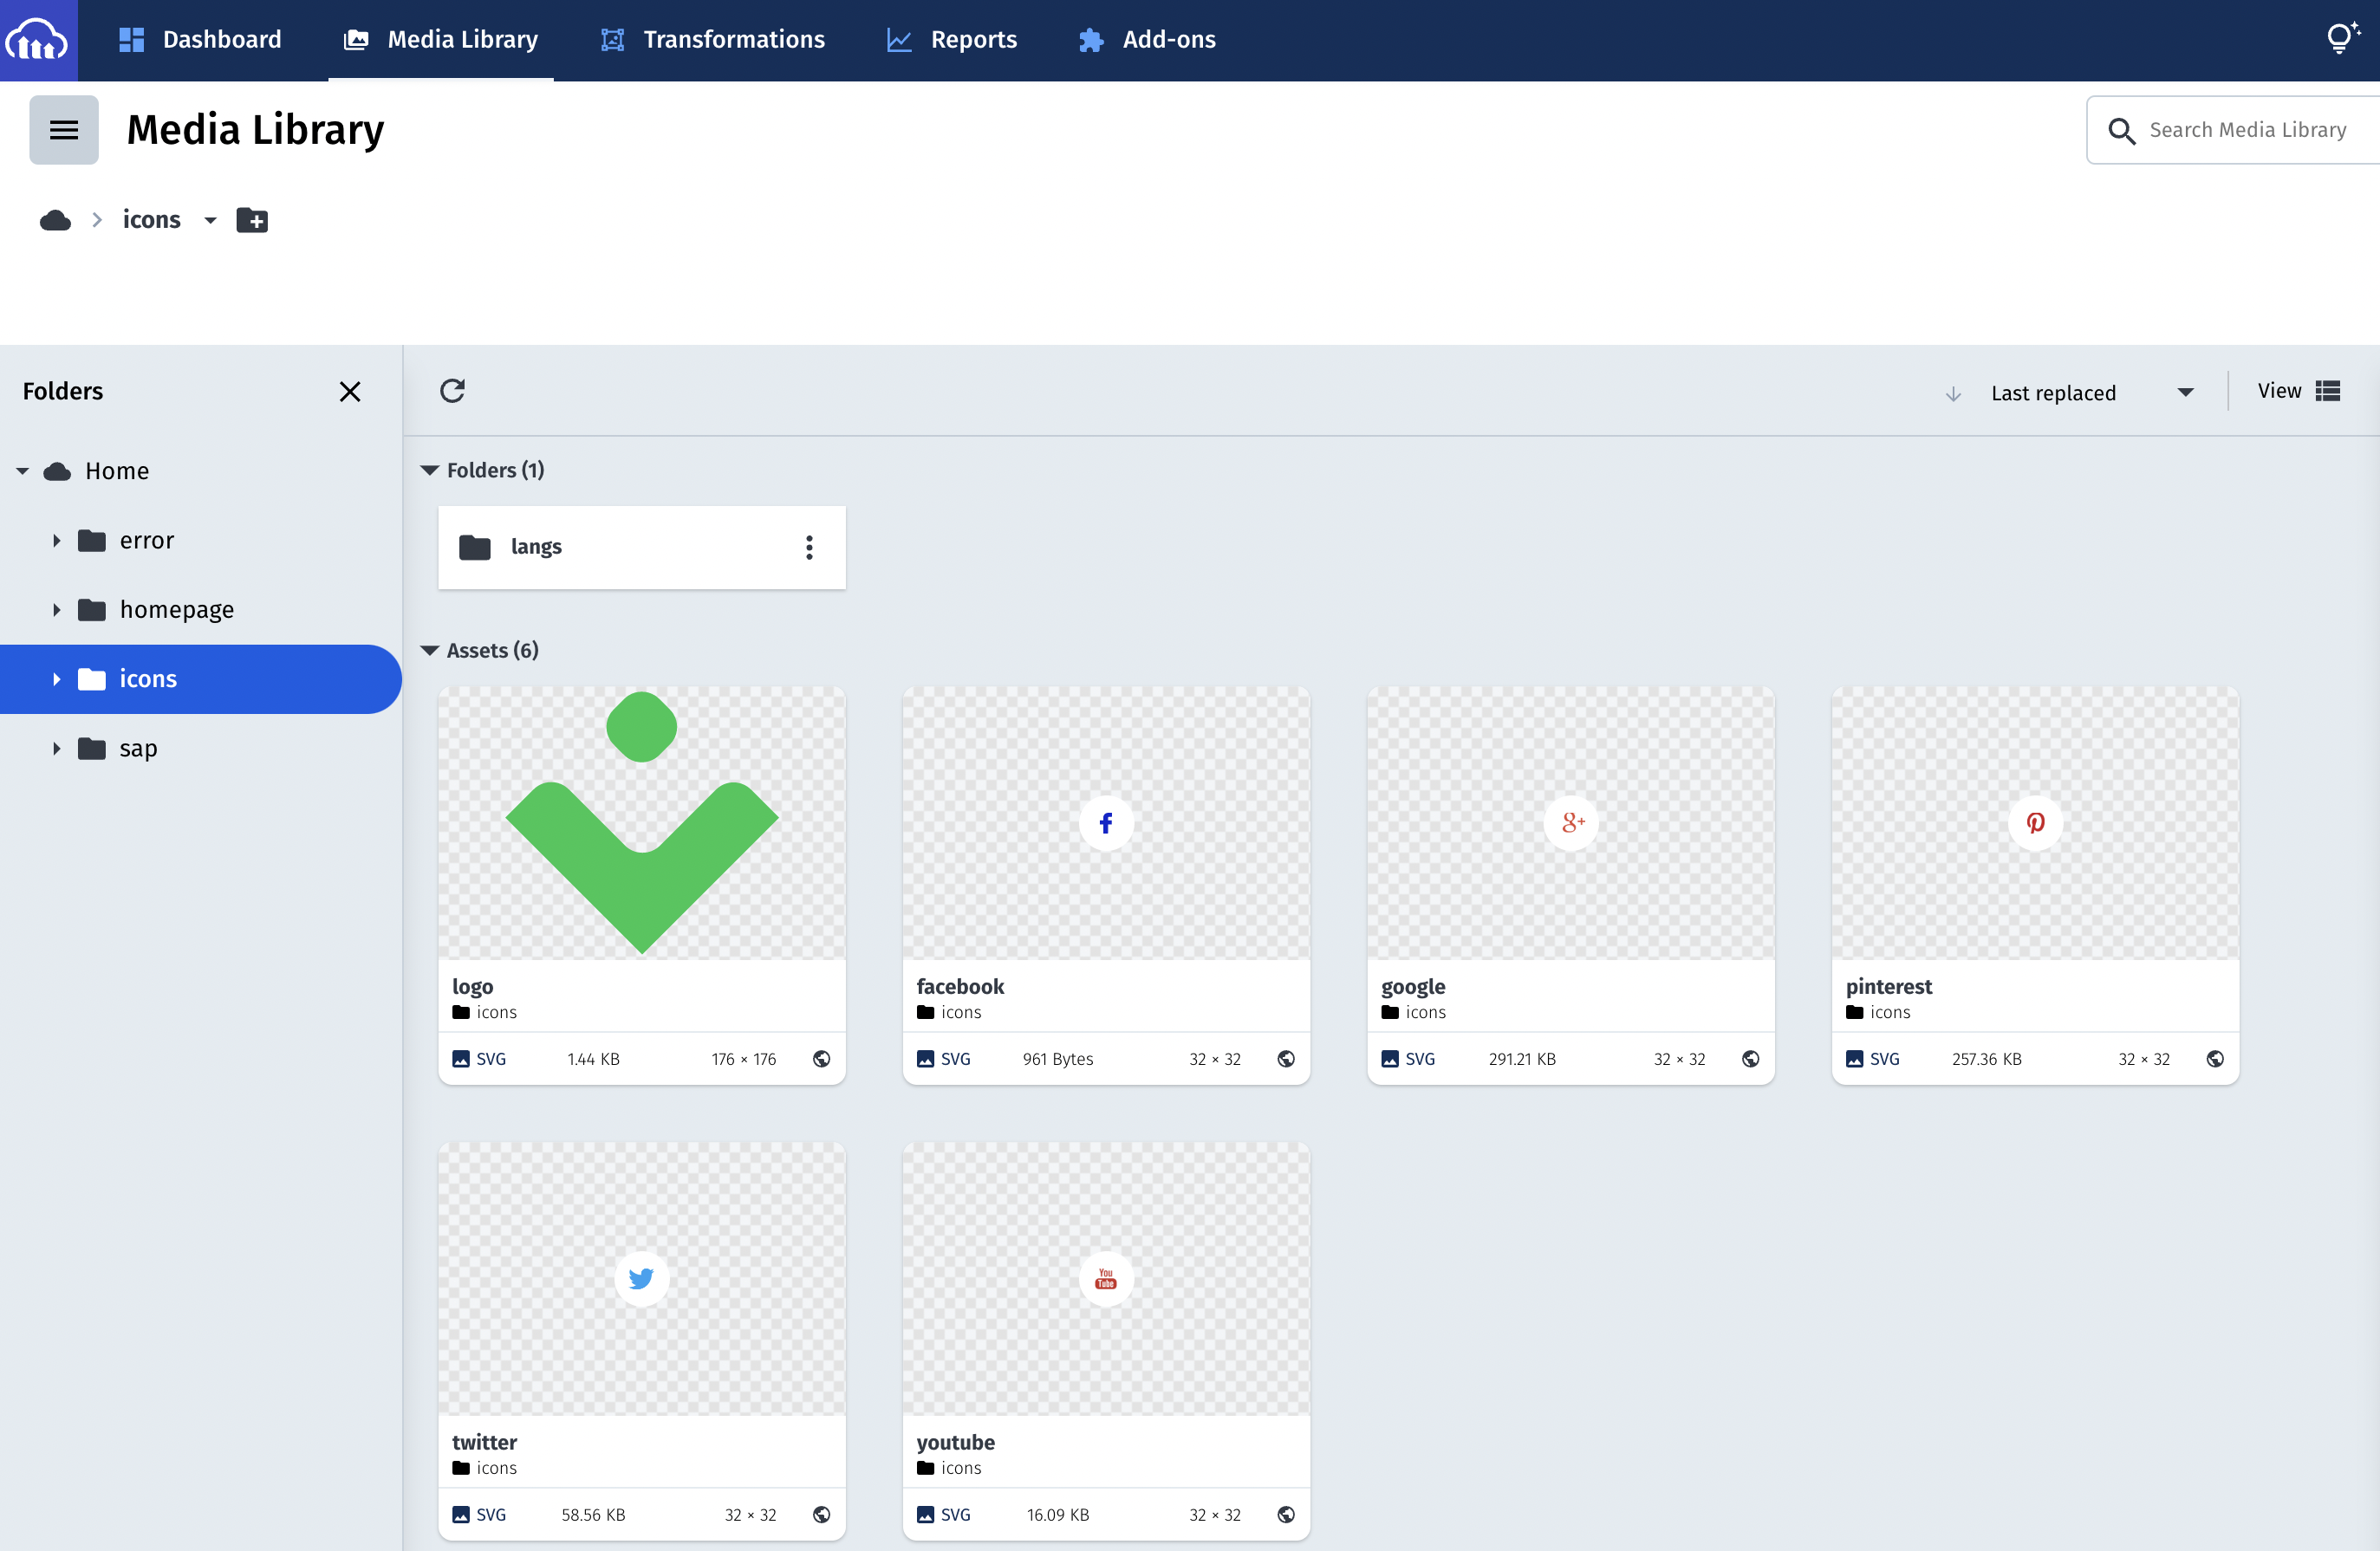
By default, Vue Storefront leverages static assets served by Nuxt and accessible through the project's URL (e.g. logo, language icons). If you run your application locally and open up the Network tab in your browser's devtools, you will see that the URLs of your static assets start with http://localhost:3000/:

If you want these assets to be served by Cloudinary instead, upload them to your Cloudinary space manually. Bear in mind the structure of the Assets directory in Cloudinary should resemble the one in your Vue Storefront project.
Auto-uploading assets
While uploading a finite number of your project's assets to Cloudinary manually might be easy, doing the same for all your product images coming from SAP Commerce Cloud would be cumbersome. To automate the process, you can leverage Cloudinary's Auto-upload (opens new window) feature.
It allows us to map a remote URL to a specific folder in our Cloudinary account. Then, whenever we access a Cloudinary image URL containing the folder prefix, the media assets are automatically retrieved from the mapped URL (unless they are present in the Cloudinary folder already).
The problem
Unfortunately, Cloudinary strips off any query parameters while accessing the mapped URL during auto-upload. It poses a problem with auto-uploading SAP Commerce Cloud product images which share the same base URL and differ only in the context query param.
Image 1
https://<your-sap-media-host>.com/medias?context=abc
Image 2
https://<your-sap-media-host>.com/medias?context=def
Therefore, Cloudinary is unable to hit the correct product image URL and will always try to reach https://<your-sap-media-host>.com/medias which results in a 400 error. Luckily, Vue Storefront provides you with two tools you can use to circumvent the issue.
The solution
First, you can leverage a global $getCloudinaryUploadPath() helper. It adds the uploadDir to the image path and transforms the context query param into a path param so that Cloudinary doesn't strip it off.
Type
function getCloudinaryUploadPath(imagePath: string): string;
Use the helper in all components dealing with SAP images you would like to auto-upload. The most common use cases include Product Detail Pages, Category Pages as well as all Cart and Order-related components.
Example
<template>
  <!--
    This SfImage component will fetch the image from
    https://res.cloudinary.com/<your-space>/image/upload/<uploadDir>/medias/context/abc.
    The cloudinary part of the url is taken from the `baseURL` property we had
    defined in @nuxt/image module configuration.
  -->
  <SfImage
    :src="cloudinaryUrl"
    image-tag="nuxt-img"
  />
</template>
<script>
import { useContext } from '@nuxtjs/composition-api';
export default {
  setup() {
    const { $getCloudinaryUploadPath } = useContext();

    const url = '/medias?context=abc';
    const cloudinaryUrl = $getCloudinaryUploadPath(url);

    return { cloudinaryUrl };
  }
}
</script>
Second, Vue Storefront provides you with the sap-image-proxy server middleware (opens new window). It exposes an image proxy endpoint which takes the URL transformed by the $getCloudinaryUploadPath() helper, re-creates the context query param and redirects to the final SAP image URL. To activate the endpoint, register the server middleware in nuxt.config.js:
nuxt.config.js
export default {
  // ...
  serverMiddleware: [
    {
      path: 'sap-image-proxy',
      handler: '~/serverMiddleware/sap-image-proxy.ts'
    }
  ]
}
After you had registered the endpoint, make sure Cloudinary is able to reach it. It requires either deploying (opens new window) your Vue Storefront application or running it on localhost and making it accessible from the outside by using tools such as ngrok (opens new window) or setting up port forwarding (opens new window).
Once the image proxy endpoint is globally accessible, we can map it to a specific folder in our Cloudinary account.
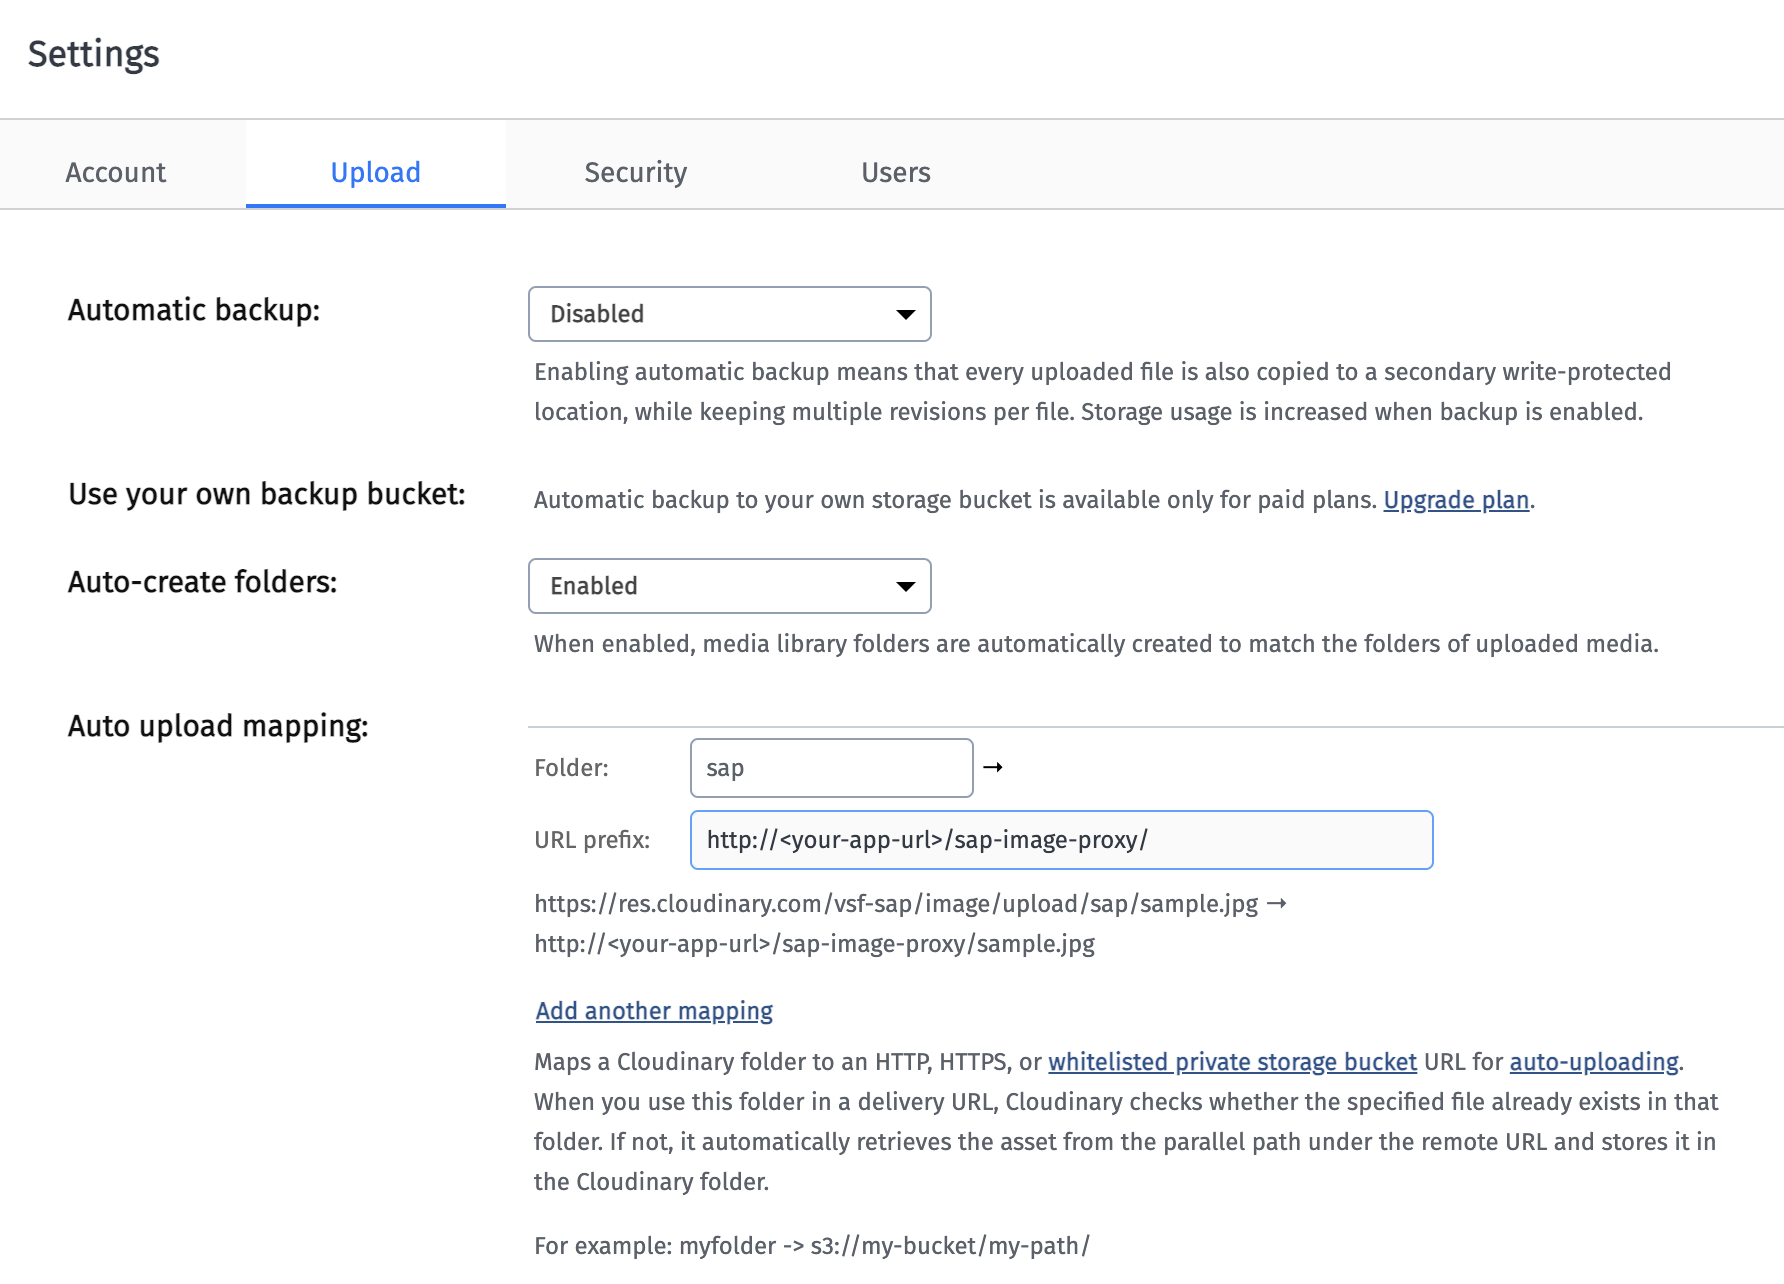
This way we make sure accessing Cloudinary URLs will auto-upload product images from SAP Commerce Cloud correctly into the desired folder in Cloudinary.
Replacing img with nuxt-img in components
With all our assets uploaded to Cloudinary, the last thing left to do is replacing standard img elements with nuxt-img (opens new window) components. They are responsible for hitting the Cloudinary baseURL you had configured earlier. You can replace the tags manually:
<template>
  <SfProductCard image-tag="nuxt-img" />
</template>
or leverage the globalImgTag property provided by Vue Storefront and implemented by default. It will be equal to nuxt-img as long as you have configured @nuxt/image correctly.
<template>
  <SfProductCard :image-tag="$globalImgTag" />
</template>
After that, you should be able to see your application requesting static assets from Cloudinary:
